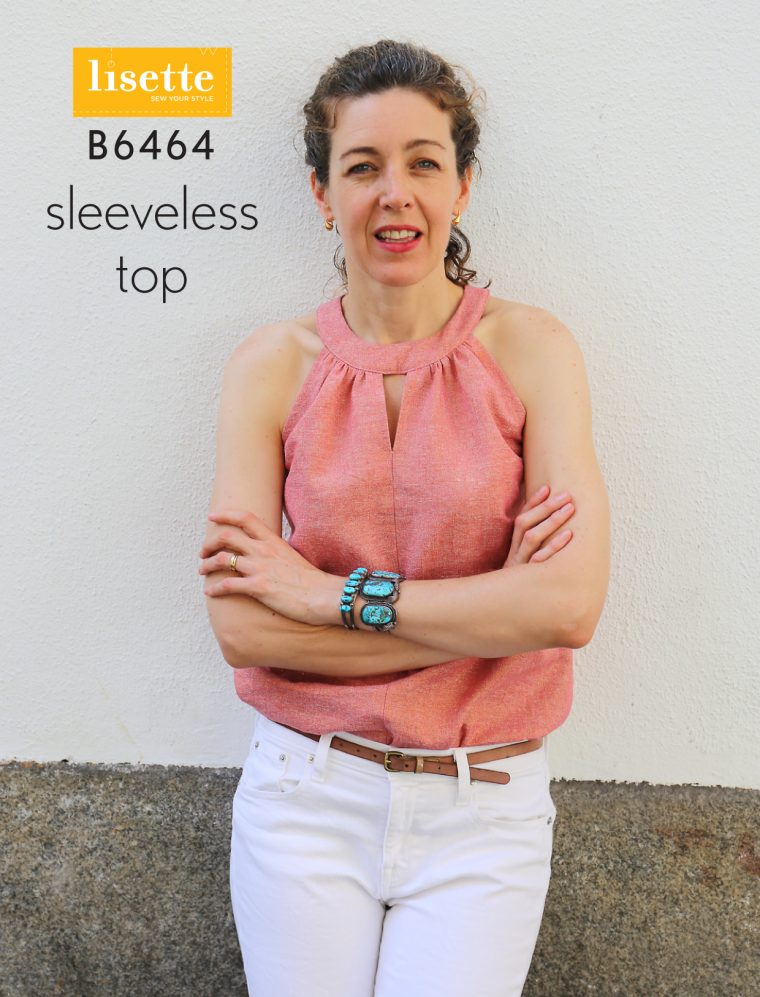
Last week, I shared the two jackets I created using my Lisette for Butterick pattern B6464. Today, I wanted to showcase the sleeveless tops I've made from the same pattern. These tops are such a joy to sew and wear, and they've quickly become a staple in my summer wardrobe!

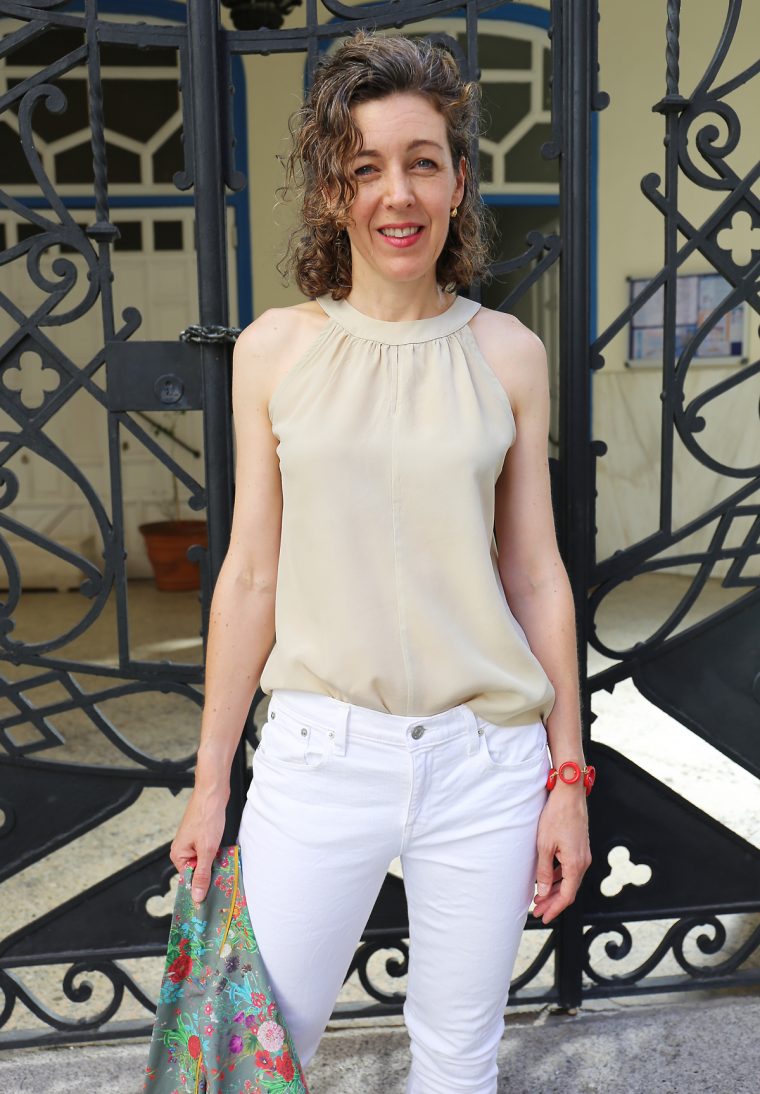
I've made this top three times now, experimenting with different fabrics each time. The first one was crafted from leftover silk crepe in a color that wasn't particularly flattering to me but had a lovely drape and was surprisingly easy to work with. I lengthened the pattern by about 4-5 inches and closed the center-front gap just to see how it would turn out. (I actually prefer it open, as per the instructions. The other two tops I made kept the gap.)
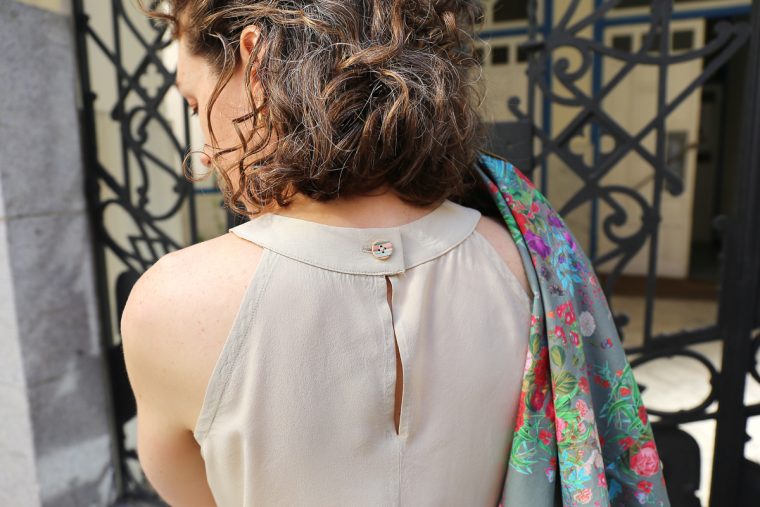
For this silk version, I took the time to hand-stitch the neck facing to ensure it looked neat. However, with a stiffer fabric, you don’t need to go to such lengths—though it still adds a touch of elegance. Overall, it's a straightforward pattern with just one buttonhole at the back, making it a quick and enjoyable summer project.
Next, I experimented with some leftover Essex yarn-dye metallic fabric from Robert Kaufman. This fabric is absolutely fantastic! The metallic threads add a playful element, and because it's stiffer, this top feels more like a blouse. People often compliment me on it, likely due to the subtle shimmer from the gold threads, giving it a soft summer glow. I usually like the cropped, untucked look of the original pattern, but since I'm tall and long-waisted, I added about 4-5 inches of length.

Encouraged by the success of the silk crepe, I decided to try my hand at a navy silk satin version, which I felt would be more flattering against my fair skin tone than the previous pale beige-green silk. For this one, I flipped the fabric so the satin side faced inward, avoiding any shine, though now I wish I'd left it on the outside—it feels so luxurious!

This pattern has quickly become a summer essential for me. It’s loose enough through the torso and waist to be comfortable, and the sleeveless design feels summery without being overly revealing. I plan to make more of these in the future—no doubt about it!
A few fitting tips: If you're between sizes, go down a size for this pattern. If the chest area is too wide, it can gap under the arms, which isn’t ideal. Additionally, if you're larger than a B-cup, you'll want to perform a full bust adjustment (FBA). Don't worry—it's easier than it sounds! If you're unsure, I have a detailed class on bust adjustments on Creativebug that walks you through every step. Trust me, it's not scary at all!
Once you understand the basics, here are the steps for this pattern, which doesn’t include a dart. Instead, the dart has been transformed into gathers at the neckline. An FBA will widen the front and create more space for the bust. The extra room is redistributed into gathers at the neckline, so it’s a seamless change. Here's how:
1. After tracing the front blouse pattern piece and marking the seam lines, locate your bust apex and mark it on the pattern. Draw a line parallel to the center front that starts at the apex, extending down parallel to the center-front fold line until it meets the hem. Then draw another straight line from the bust apex to about one-third up the armhole. Cut along this line, leaving an uncut paper hinge at the armhole seam line. If any of this is unclear, my Creativebug class provides a thorough explanation.
2. Draw a second line starting halfway across the neckline and intersecting the bust apex. Cut along this line, leaving a paper hinge at the apex.
3. Spread the pattern piece vertically, keeping the sections flat while widening the two halves of the blouse to add more space. Ensure the spacing remains consistent from the apex to the hem. For a C-cup, spread the cut line by about 1/2 inch, keeping the edges parallel. For a D-cup, spread by 3/4 to 1 inch. As you spread, the gap at the neckline will increase. Adding extra width at the chest and more gathering at the neckline creates additional room at the bust without altering the rest of the pattern. It's essentially like creating a larger dart, but it’s invisible. Neat, huh?
4. Tape tissue or plain paper behind the cuts to fill the gaps. Redraw the neckline, blending a new curve. Extend the center-front hem, following the original shape of the blouse/dress hem. Simply trace the original hem, starting at the side seams and keeping the grain lines parallel.
The pattern is now ready! These small adjustments will improve the fit immediately, and you can fine-tune it further based on your preferences.
If you missed it, check out the coordinating jackets I made using this pattern. You can also purchase the pattern itself. I hope you'll share photos of your finished B6464 tops! Tag them #B6464 and #sewlisette on Instagram, and add them to our SewLisette Flickr group.
[Advertisement]
Related posts will appear here soon!
Polypropylene Yarn,Twisted Polypropylene Yarn,Socks Pp Textile Yarn,Knitting Socks Polypropylene Yarn
Shaoxing Shujin Chemical Fiber Co.,Ltd. , https://www.sxsjfiber.com